Setup the development environment on AWS Cloud9 for coding and testing
In the traditional coding era, we always install a lot of IDE softwares such as Intellij Idea/Visual Studio/Atom/etc.. on local machines, and develop on the local IDE software. Even though it's fast,
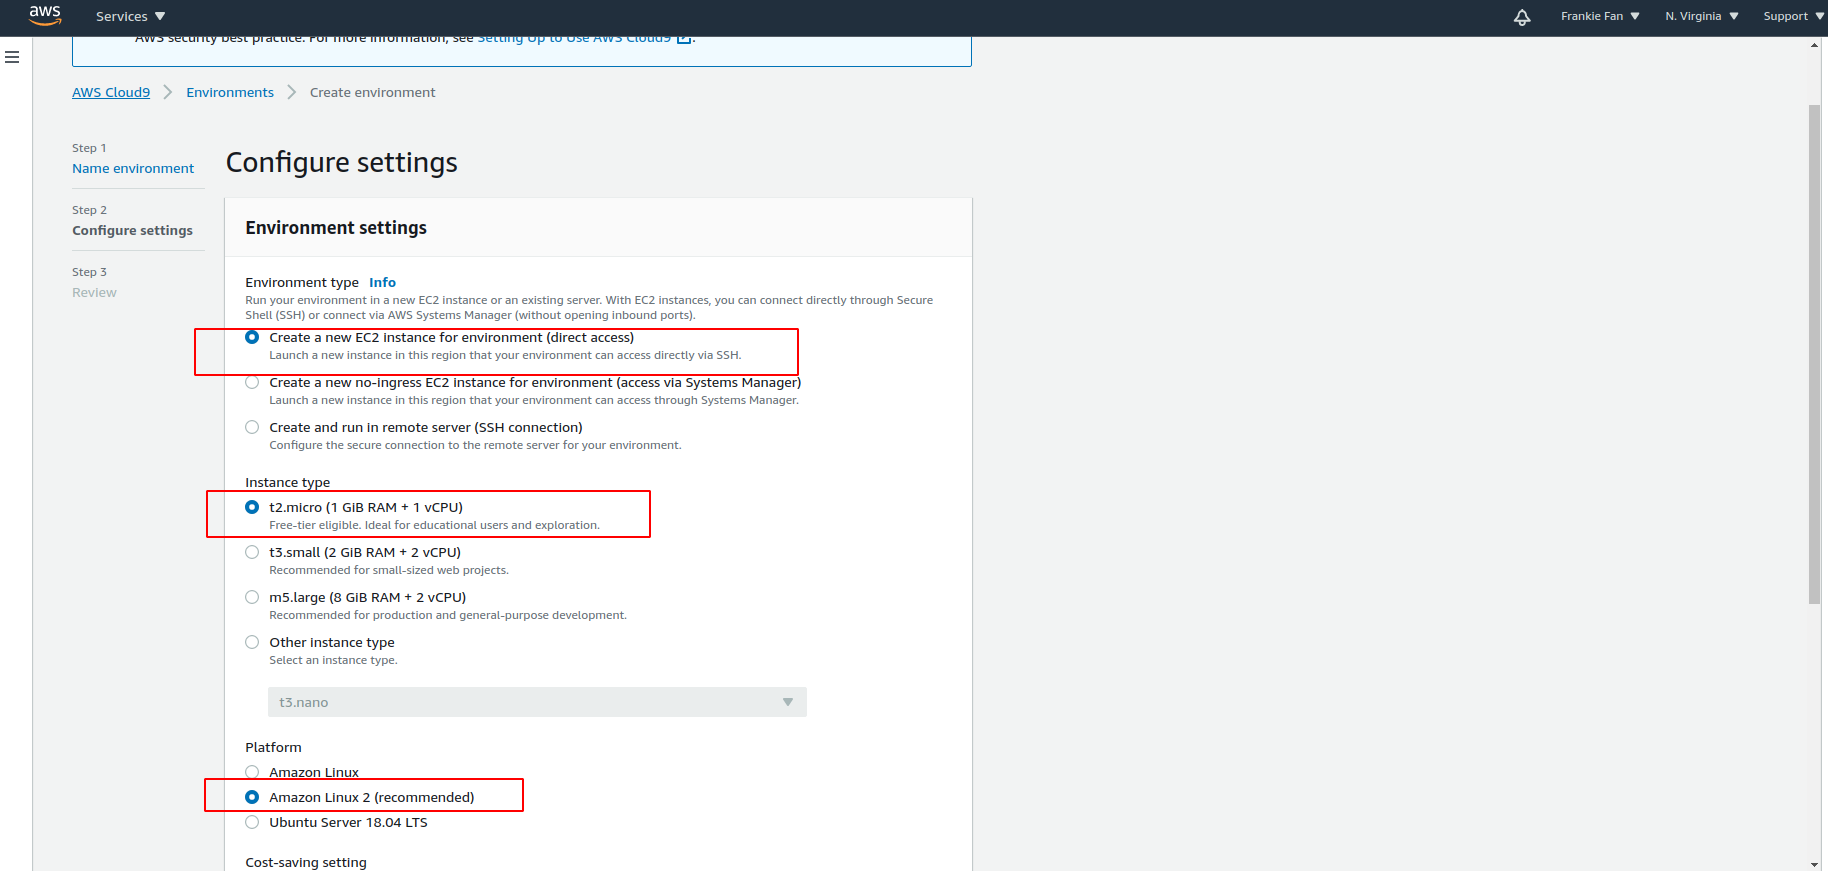
Create environments in AWS Cloud9
Go to AWS Cloud9 and create a new environment.
Create a repository or clone existing repositories from GitHub
Normally we clone an existing repository from our Github account as bellow. See Cloud9 GitHub Sample for details.
#Configure git information
git --version
git config --global user.name "Frankie Fan"
git config --global user.email hustakin@gmail.com

#Clone your Angular repository from Github
git clone https://github.com/<username>/<repos>.git
Install Angular Cli and modules
npm install -g @angular/cli

#Install modules
cd <repos>
npm install
Cache the Github username and password
After running this command, the first time you pull or push from the remote repository, you'll get asked about the username and password. Afterwards, for consequent communications with the remote repository you don't have to provide the username and password. The storage file is ~/.git-credentials in plain text.
git config --global credential.helper store
Coding and push changes to Github
git status
git add .
git commit -m "<this is a commit>"
git push
#Pushing to other branches
git branch -r
git branch -avv
git push -u origin <local branch:remote branch>
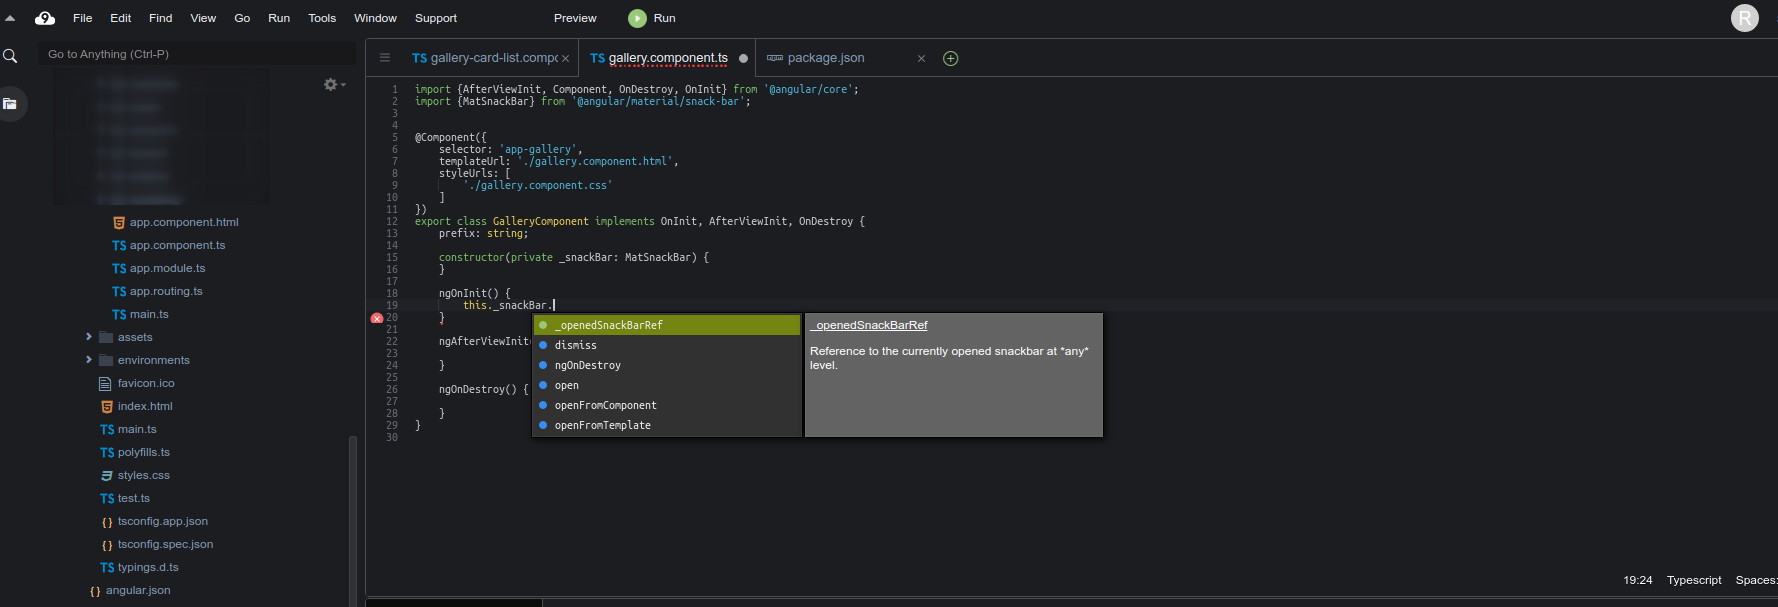
Enjoy the smart tip for your app(Angular/Java/Dart/etc..)
No matter which language you are coding in, the Cloud9 will provide with smart tips support which is great.
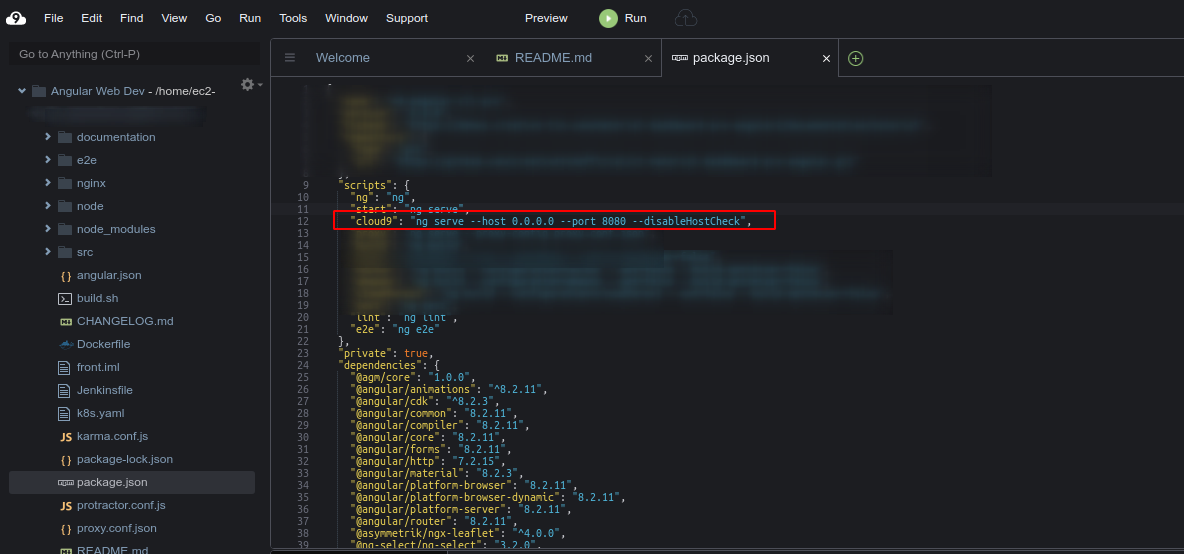
Run Angular app
We could run the bellow script to run the Angular app on port 8080 or add the script into our package.json file and run "npm run cloud9" instead.
ng serve --host 0.0.0.0 --port 8080 --disableHostCheck
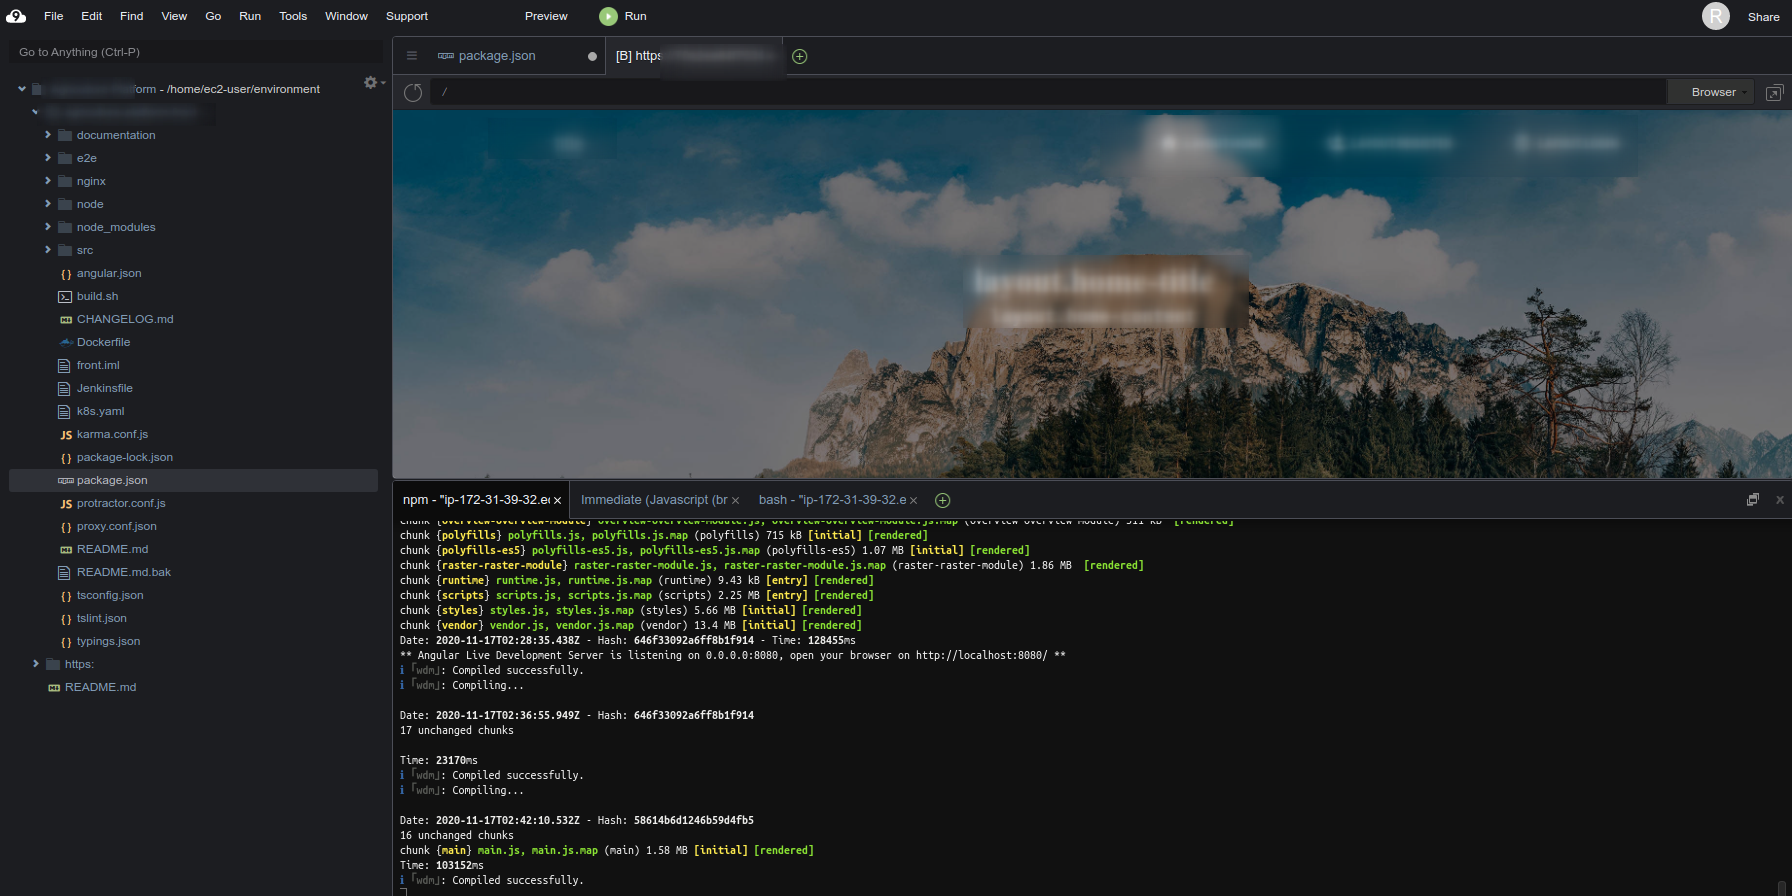
Preview the web page
Select "Preview - Preview Running Application" menu item to see the web page. Please be noted that AWS Cloud9 only support to preview in https mode, you should copy the address in a local browser tab and replace the https with http to run in http mode.
Resize the Amazon EBS volume
The Cloud9 environment instances start with 8 GB of space. Should resize the EBS volume size if needed. In the AWS Cloud9 IDE for the environment, create a file with the following contents, and then save the file as resize.sh
#!/bin/bash

# Specify the desired volume size in GiB as a command-line argument. If not specified, default to 20 GiB.
SIZE=${1:-20}

# Get the ID of the environment host Amazon EC2 instance.
INSTANCEID=$(curl http://169.254.169.254/latest/meta-data/instance-id)

# Get the ID of the Amazon EBS volume associated with the instance.
VOLUMEID=$(aws ec2 describe-instances \
  --instance-id $INSTANCEID \
  --query "Reservations[0].Instances[0].BlockDeviceMappings[0].Ebs.VolumeId" \
  --output text)

# Resize the EBS volume.
aws ec2 modify-volume --volume-id $VOLUMEID --size $SIZE

# Wait for the resize to finish.
while [ \
  "$(aws ec2 describe-volumes-modifications \
    --volume-id $VOLUMEID \
    --filters Name=modification-state,Values="optimizing","completed" \
    --query "length(VolumesModifications)"\
    --output text)" != "1" ]; do
sleep 1
done

#Check if we're on an NVMe filesystem
if [ $(readlink -f /dev/xvda) = "/dev/xvda" ]
then
  # Rewrite the partition table so that the partition takes up all the space that it can.
  sudo growpart /dev/xvda 1

  # Expand the size of the file system.
  # Check if we are on AL2
  STR=$(cat /etc/os-release)
  SUB="VERSION_ID=\"2\""
  if [[ "$STR" == *"$SUB"* ]]
  then
    sudo xfs_growfs -d /
  else
    sudo resize2fs /dev/xvda1
  fi

else
  # Rewrite the partition table so that the partition takes up all the space that it can.
  sudo growpart /dev/nvme0n1 1

  # Expand the size of the file system.
  # Check if we're on AL2
  STR=$(cat /etc/os-release)
  SUB="VERSION_ID=\"2\""
  if [[ "$STR" == *"$SUB"* ]]
  then
    sudo xfs_growfs -d /
  else
    sudo resize2fs /dev/nvme0n1p1
  fi
fi
sh resize.sh 20
Install Maven
sudo yum install -y maven
mvn --version
Install Amplify-cli
npm install -g @aws-amplify/cli

# Install Amplify libraries for Angular
npm install --save aws-amplify @aws-amplify/ui-angular