Create the CI/CD pipeline and test&prod environments for web app with AWS Amplify
AWS Amplify is a set of products and tools that enable mobile and front-end web developers to build and deploy secure, scalable full-stack applications, powered by AWS.
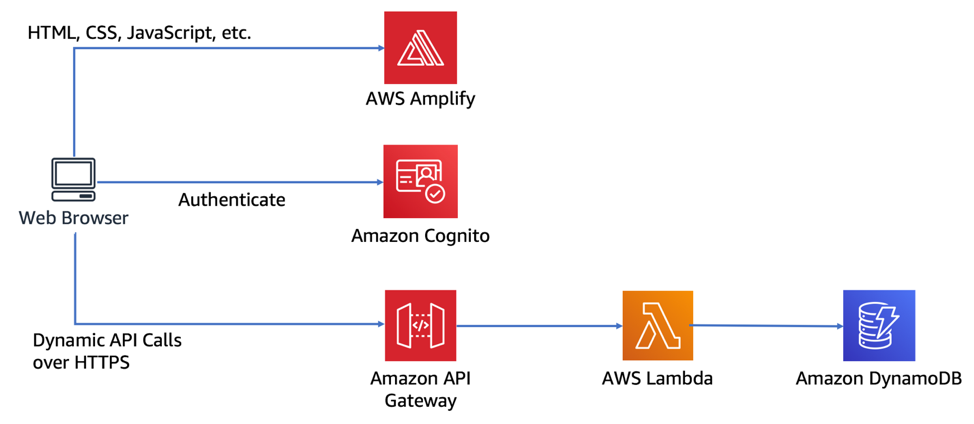
In this article, we are going to build an Angular front-end APP on Github, and create the CI/CD pipeline for it, then we create the test&prod environments for it. All of these abilities are based on AWS Amplify thus simple and easy to go.
Firstly we connect our Git repository to continuously deploy our frontend and backend then host it on a globally available CDN. After that, we setup a backend to enable data, authentication, or storage capabilities then integrate them in our app with just a few steps.
There are a lot of ways to create a CI/CD pipeline for your web app project and create a testing environment for it, but AWS Amplify make the process from Deliver to Develop become so easy to go. Honestly, this is the most convenient way I've ever tried to achieve the same result.
Now we will go through the whole process step by step to show you how easy it is to power your web app by AWS Amplify.
Here we have an initial Angular project within the remote memotraces-web GitHub repository.
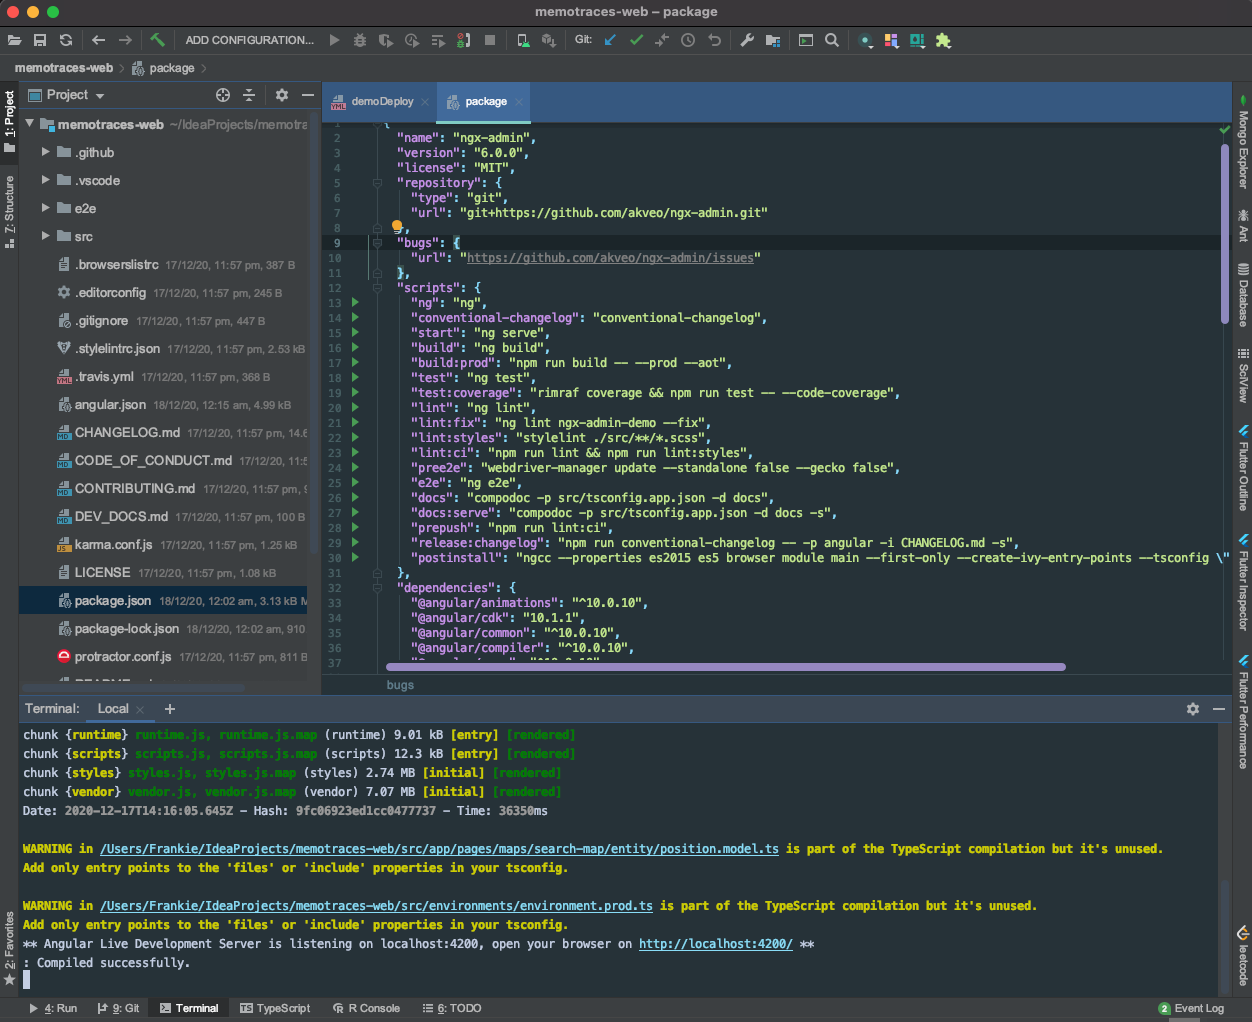
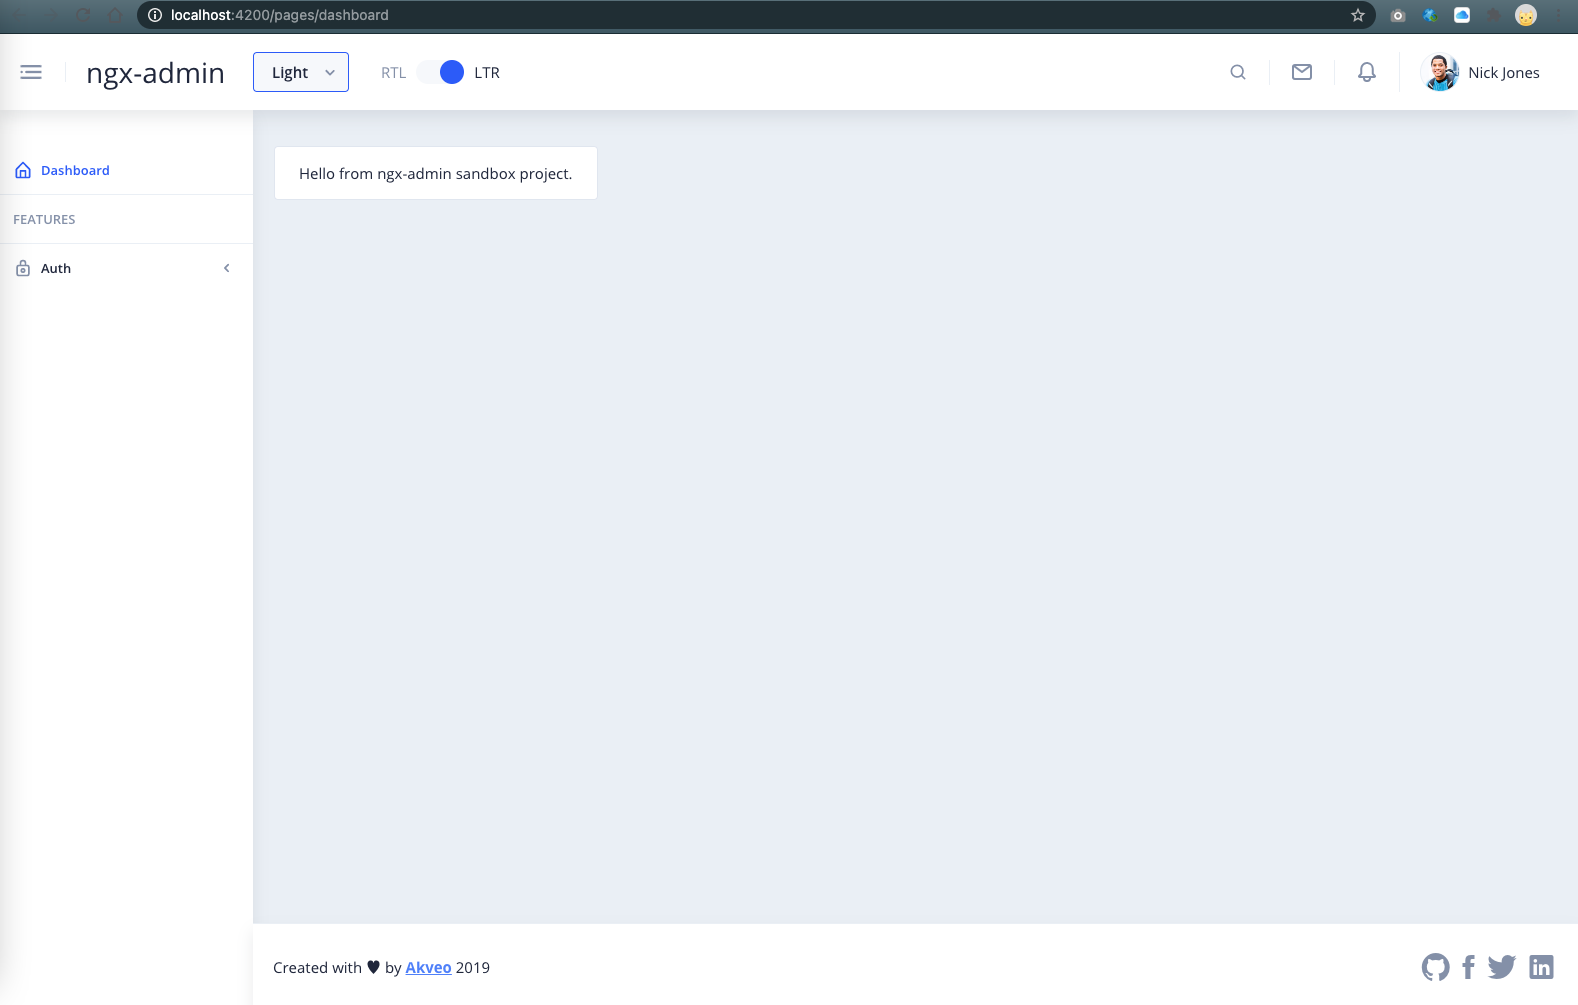
We can see how it looks like when we ng serve the project as bellow.
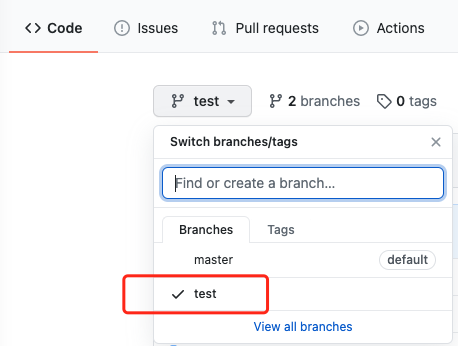
Basically, we should create another branch for the testing environment purpose. Here we create a branch named "test" in our GitHub repository.
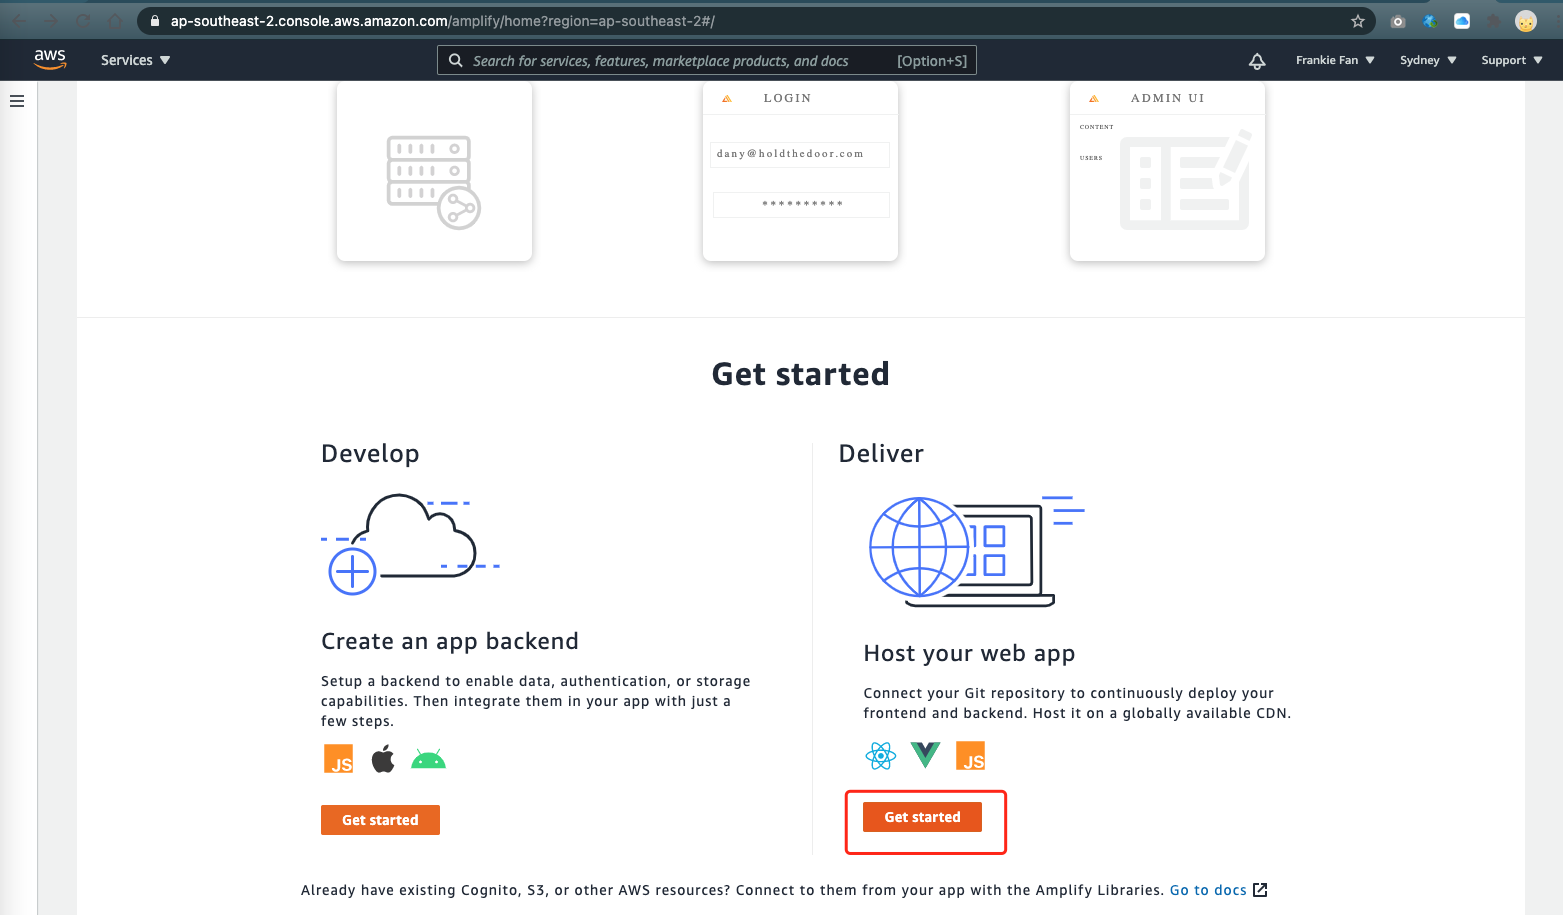
Now it's time for us to login AWS console and go to AWS Amplify service page. Get started in the "Deliver" part.
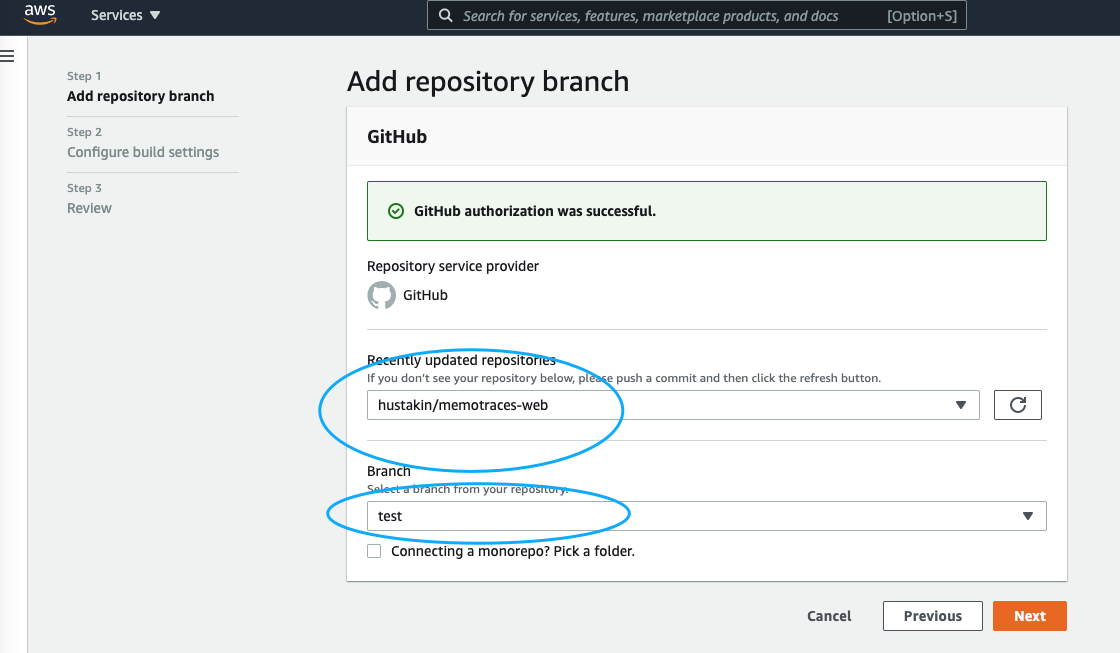
Connected to the related GitHub repository and select the "test" branch for delivery. We don't need connect to a monorepo because our Angular project is located in the root path of the repository rather than a subfolder of it.
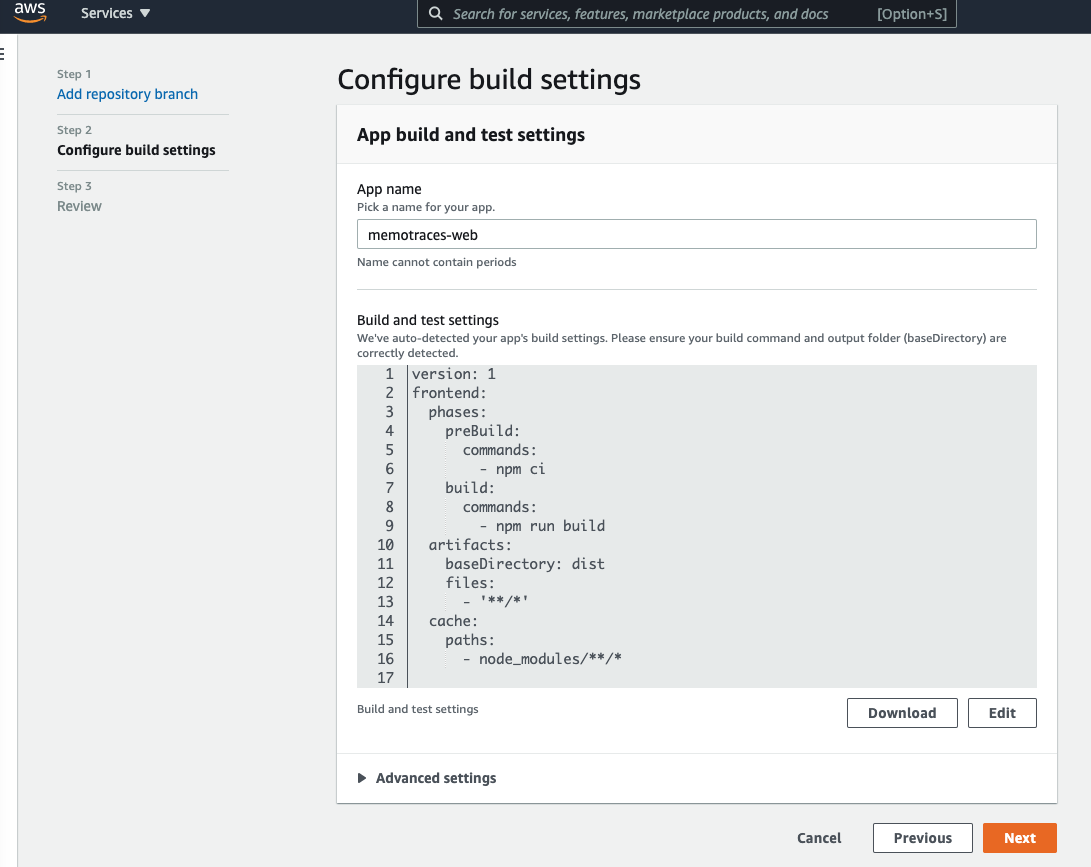
Next step AWS will find out this is an Angular project and auto-detected the app's build settings for us already. Please ensure the build command and output folder (baseDirectory) are correctly detected.
Save and deploy this app settings, then we will see the app is deploying now and AWS automatically give a publicly accessible url for our app here.
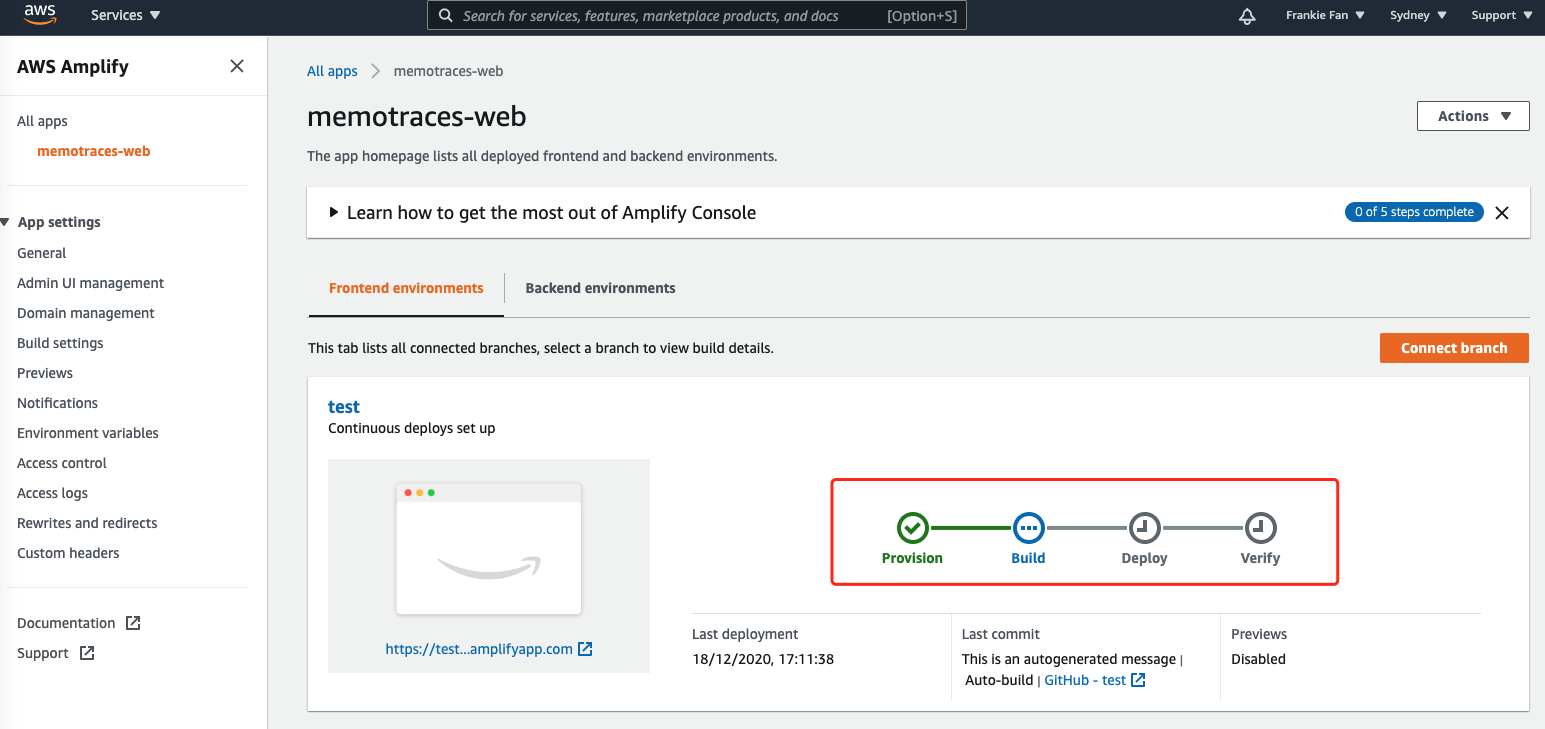
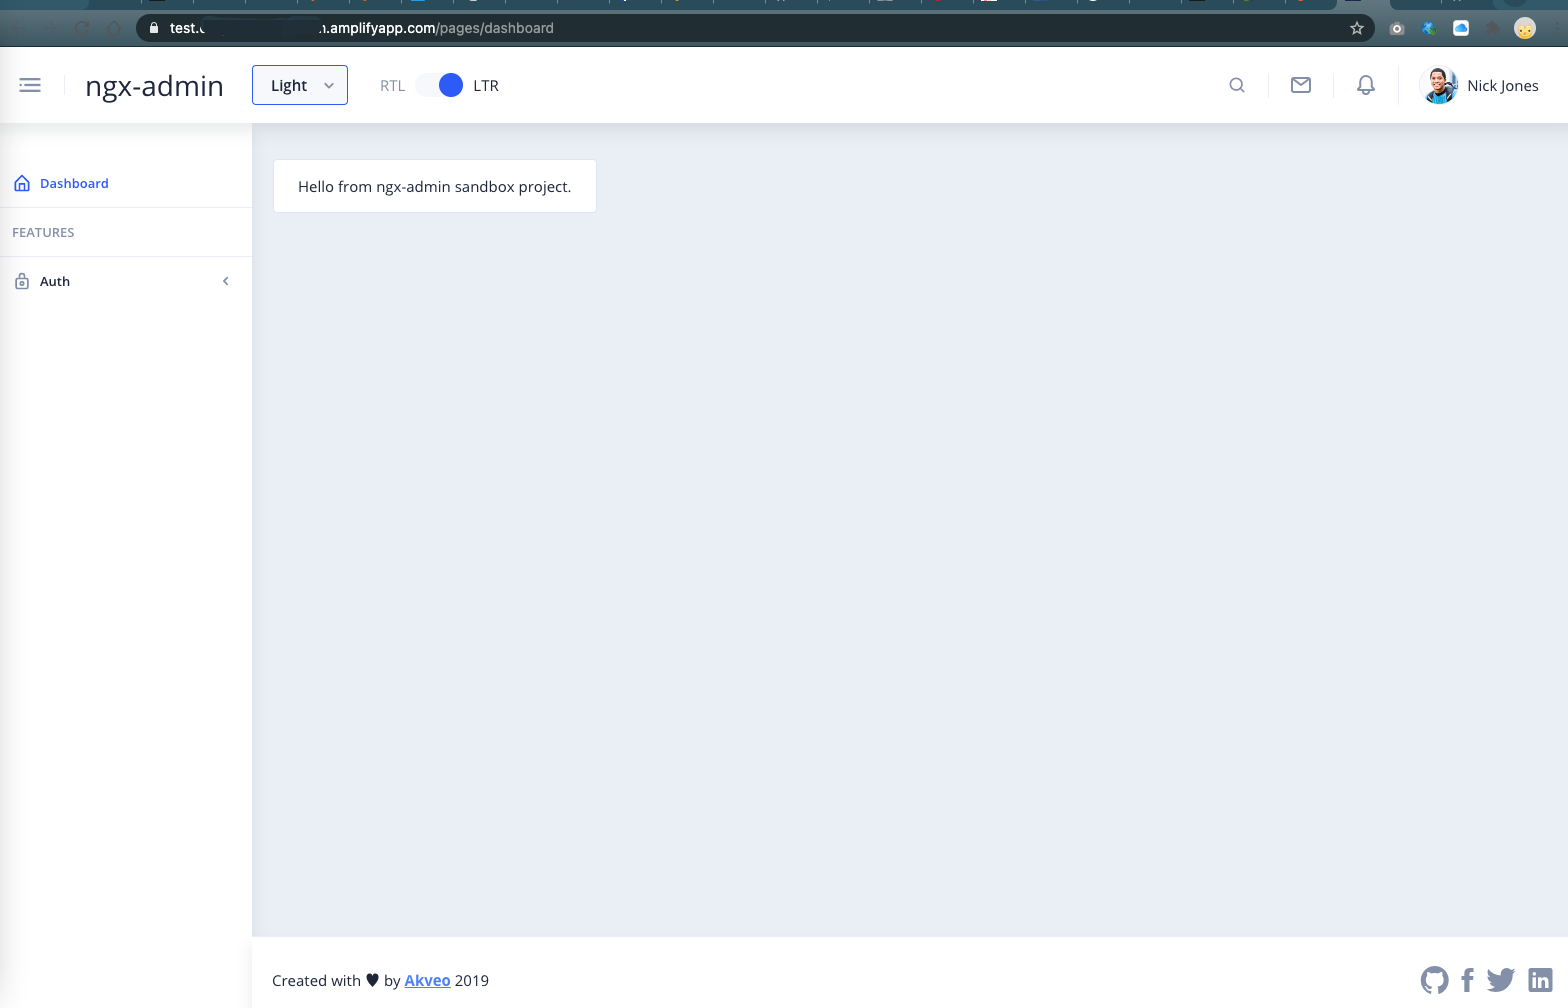
After all steps finish, we are able to navigate the test url to have a look. Obviously it looks totally the same as we run it locally.
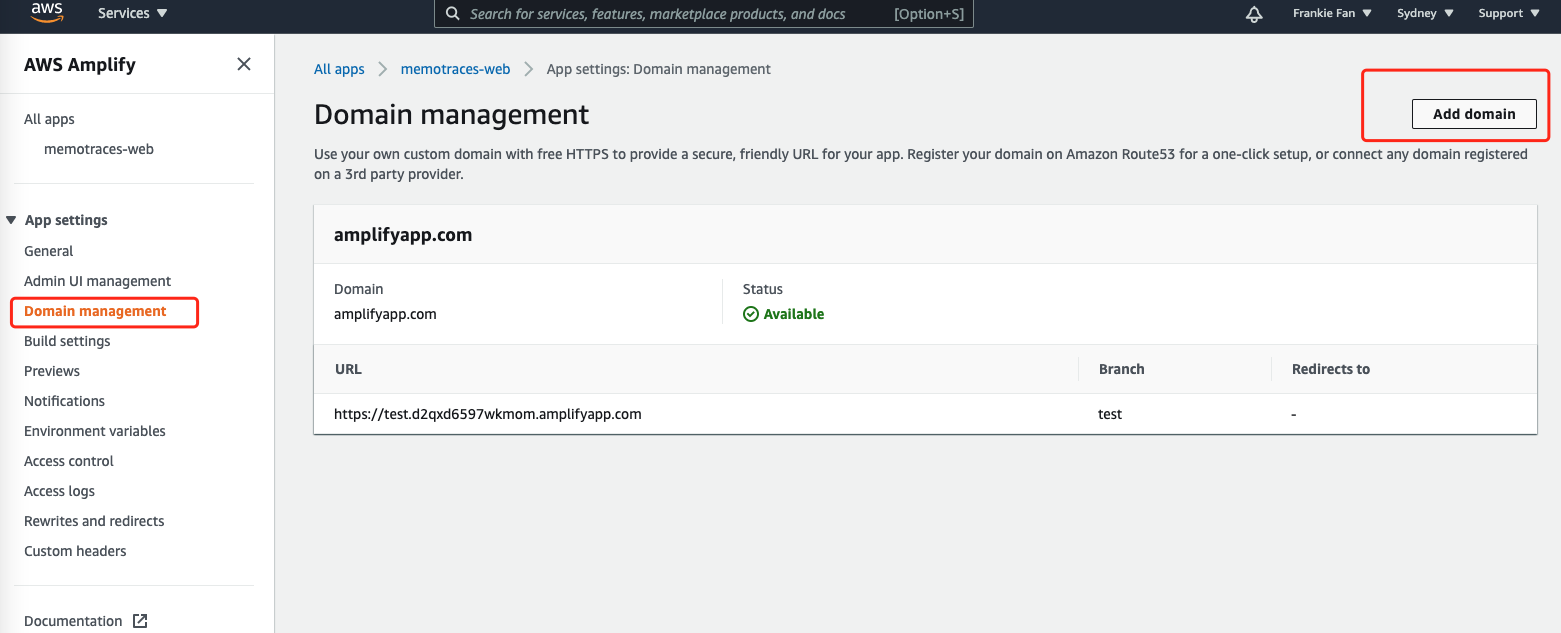
It would be great if you buy the domain to host your website in AWS Route 53. You can easily add your existing Route 53 domain in here to bind to your related website environment, and AWS also help you generate free HTTPS certificate for your domain. All steps would finish in just one-click setup.
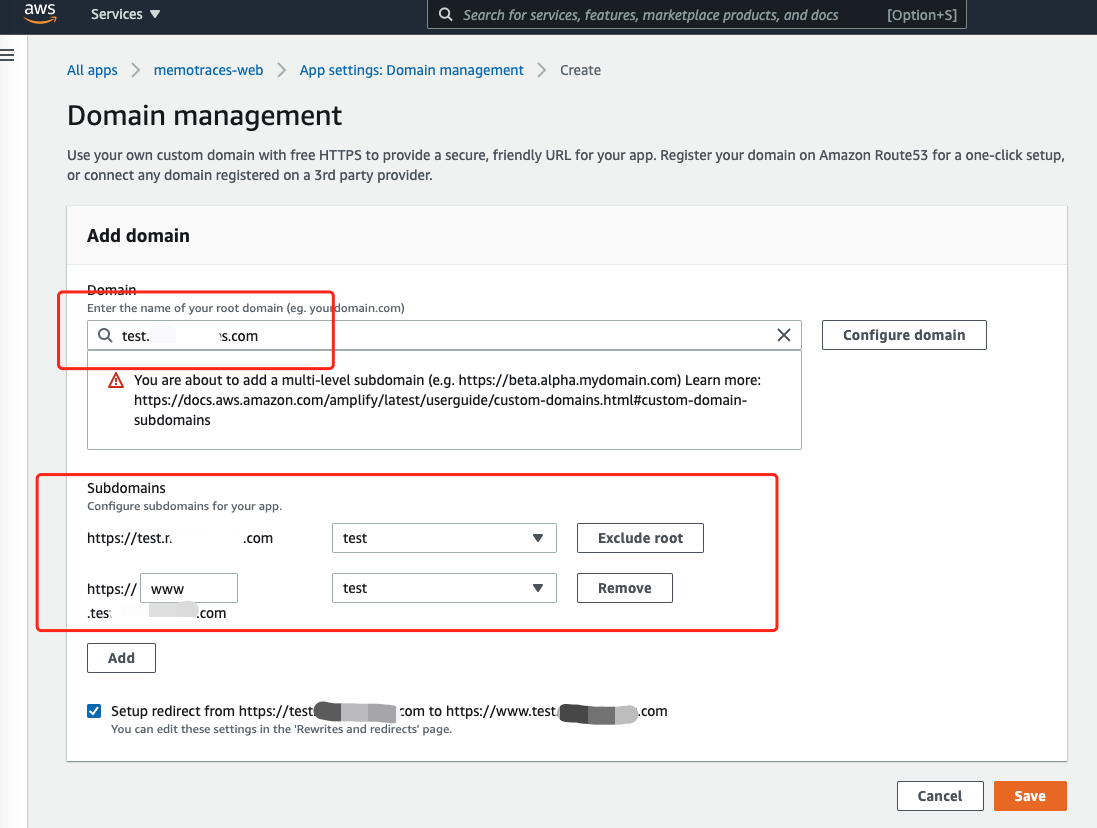
You could also create a sub-domain for your test environment.
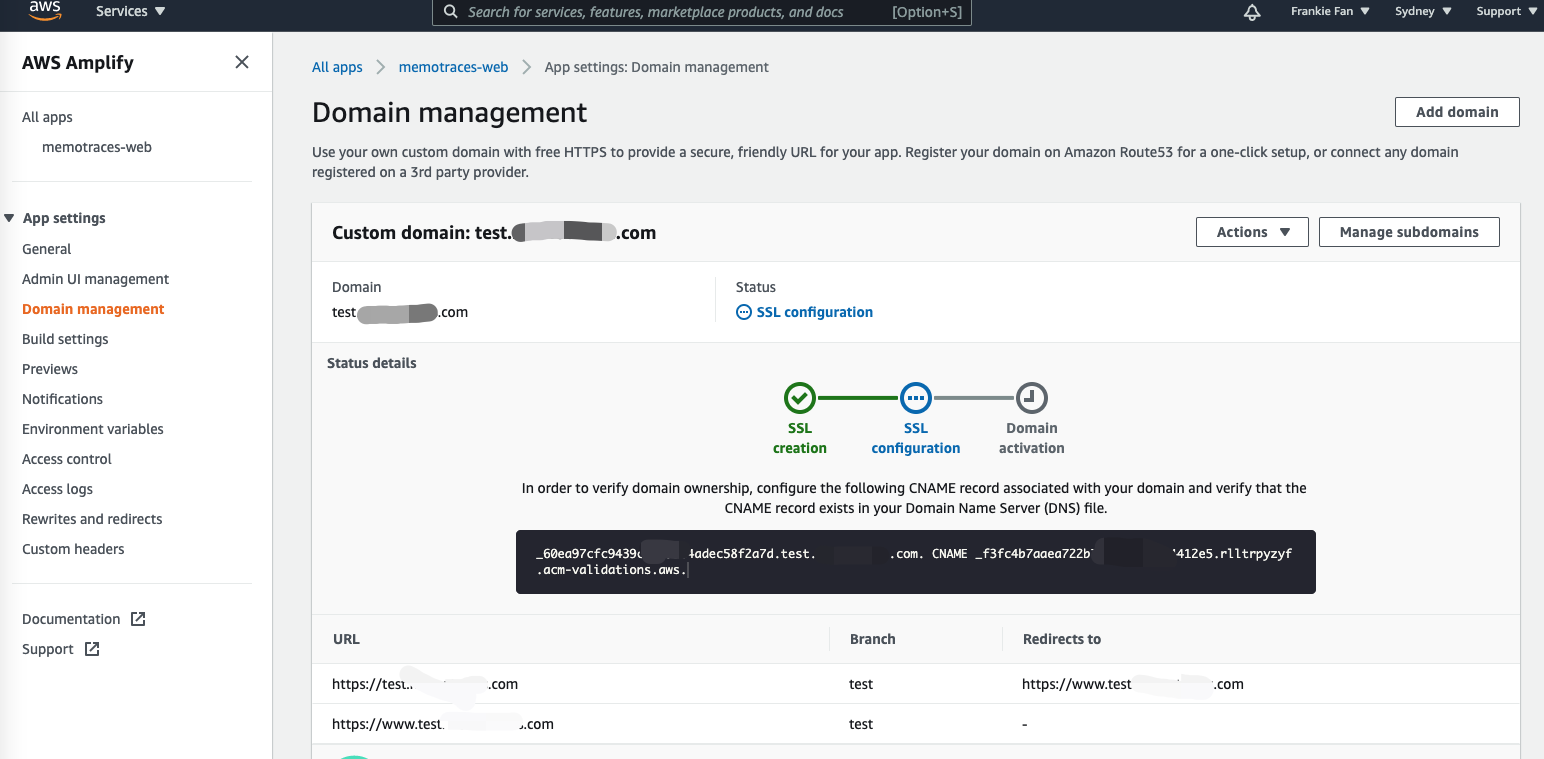
After you create the sub-domain, AWS will automatically create SSL and configure it for you. If the SSL configure doesn't work, you should create the CNAME record by yourself.
You could also create another continuous deploys setup connected with another branch such as "release", then bind your domain with that branch as well. After that, You've successfully created CI/CD pipelines and test&prod environments for your web app.
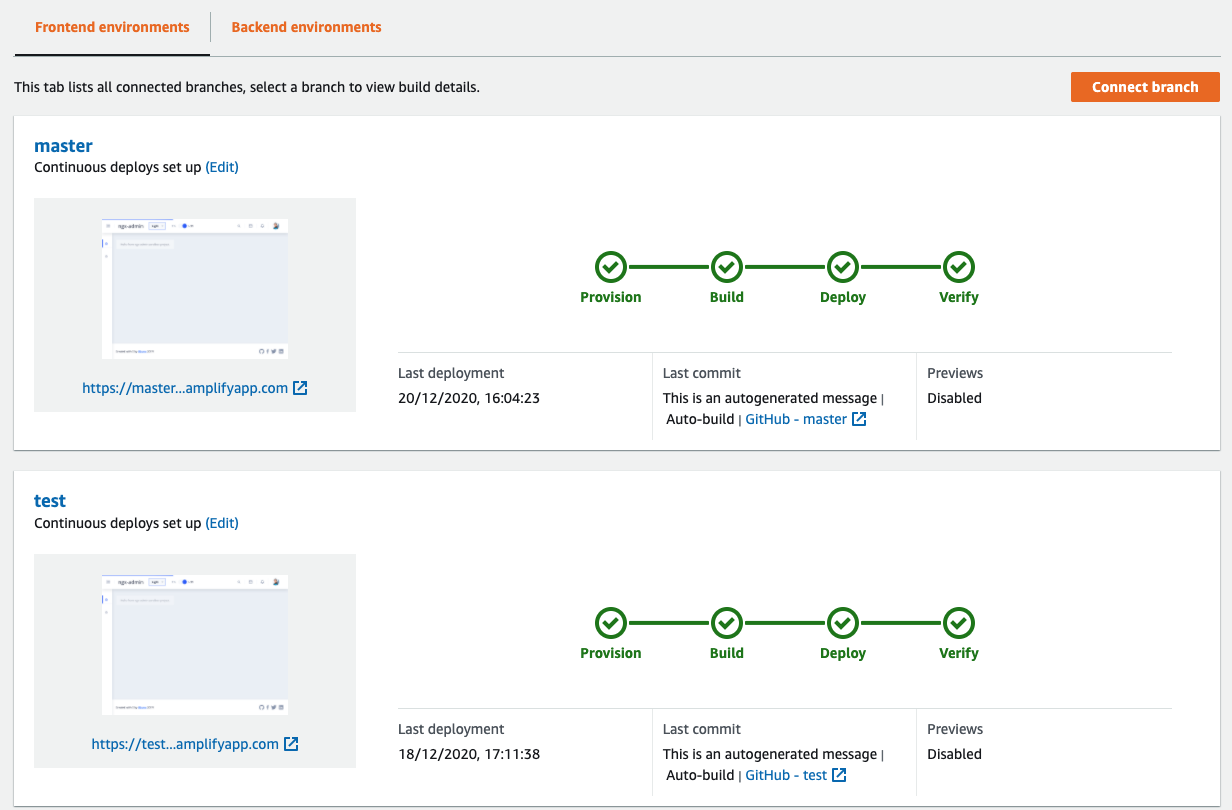
This is a really easy way to build your web app across whole developing processes including scratch -> test -> release.