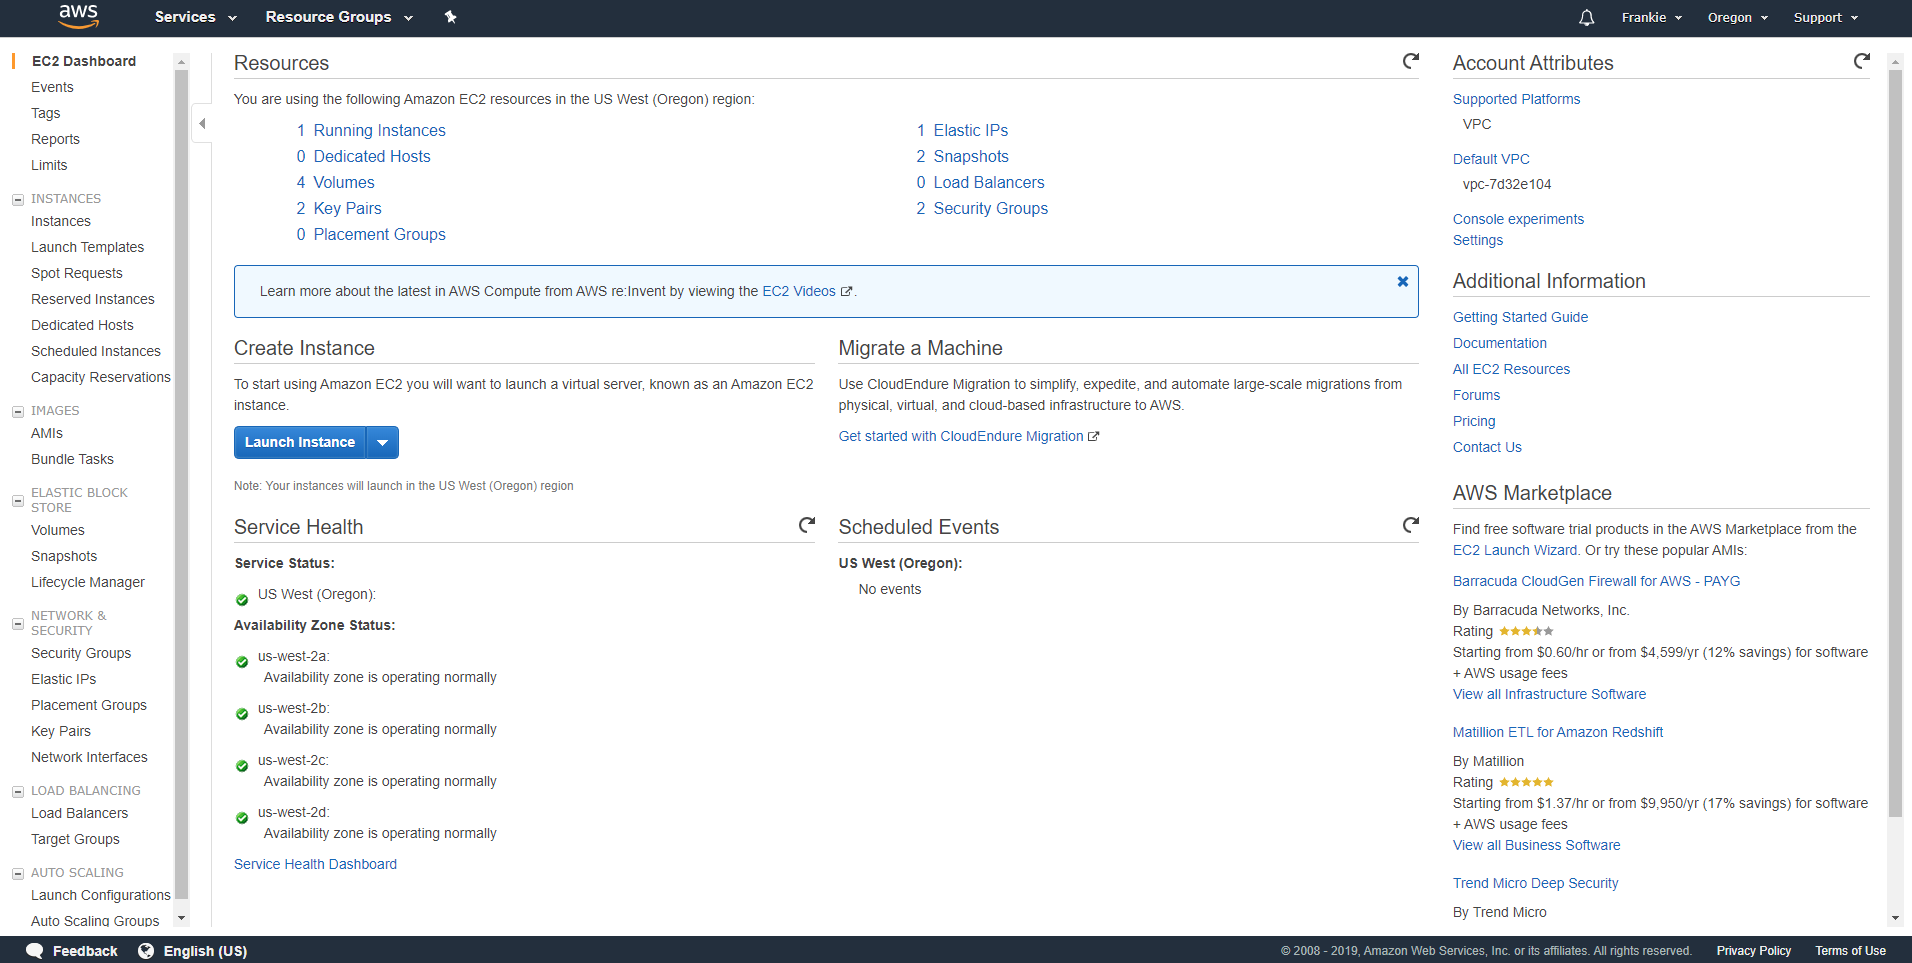
Amazon EC2 101
Amazon Elastic Compute Cloud (Amazon EC2) is a web service that provides secure, resizable compute capacity in the cloud. It is designed to make web-scale cloud computing easier for developers.

Create new instance and prepare the env
- EC2-Launch Instance, select ubuntu, select general purpose t2.medium, select security group, select ssh key, don't select "Delete on Termination" for volume.
- Import SSH key into local system.
chmod 400 aws.pem ssh-add aws.pem - SSH to the ec2 instance when it's ready.
ssh ubuntu@134.216.31.161 - Install docker and add current user to docker group and docker login, and install docker-compose.
sudo curl -sSL https://get.docker.com/ | sh sudo groupadd docker sudo usermod -aG docker $USER sudo docker login sudo curl -L https://github.com/docker/compose/releases/download/1.20.0/docker-compose-`uname -s`-`uname -m` -o /usr/local/bin/docker-compose sudo chmod +x /usr/local/bin/docker-compose docker-compose --version - Run ftp container.
sudo docker run -d -v /upload:/home/vsftpd \ -p 20:20 -p 21:21 -p 40000-40080:40000-40080 \ -e FTP_USER=user -e FTP_PASS=pass \ -e PASV_ADDRESS=134.216.31.161 -e PASV_MIN_PORT=40000 -e PASV_MAX_PORT=40080 \ --name vsftpd --restart=always fauria/vsftpd - Mount jenkins_home backup to the /data volume, and run jenkins container.
sudo docker run --name jenkins -p 8080:8080 -p 50000:50000 -v /data/jenkins_home:/var/jenkins_home -d jenkins - Modify backup jenkins_home permission if needed.
sudo chmod -R 777 jenkins_home sudo docker restart jenkins - Modify ~/docker folder owner to ubuntu which is the default root username.
sudo chmod -R ubuntu:ubuntu ~/docker - Modify timezone to brisbane.
date -R sudo tzselect append the content to ~/.profile: TZ='Australia/Brisbane'; export TZ sudo hwclock --systohc - Add cron auto mongoDB backup task.
sudo service cron start
sudo crontab -l
copy the mongobk.sh to ~ folder
crontab -e //add the content into it: 0 2 * * * sudo bash ~/mongobk.sh
sudo service cron reload


#The mongobk.sh content is as bellow
#!/bin/bash
#Backup mongodb database and compress them
#add cron task in linux: 0 2 * * * "sudo bash ~/mongobk.sh"

DATE=`date +%Y-%m-%d`
DAYS=15
OUT_DIR=/data/dump/backup
TAR_DIR=/data/dump/backup_list
TAR_BAK="mongod_bak_$DATE.tar.gz"

rm -rf $OUT_DIR/*
mkdir -p $OUT_DIR/$DATE
mkdir -p $TAR_DIR

mongodump -h localhost:27017 -d develop -o $OUT_DIR/$DATE -u user -p pass
tar -zcvf $TAR_DIR/$TAR_BAK $OUT_DIR/$DATE
#tar -zxvf *.tar.gz

# delete backup 15 days ago
find $TAR_DIR/ -mtime +$DAYS -delete

exit
#The mongobk.sh content end
Backup and restore root volume
See the link for detail: https://docs.aws.amazon.com/AWSEC2/latest/UserGuide/ebs-using-volumes.html. 1. Backup volume: Create a snapshot for the root volume. 2. Launch a new ec2 instance, after it's ready go to volumes page and add a new volume from the snapshot. 3. See disk devices and mount points of them.
lsblk
#NAME    MAJ:MIN RM SIZE RO TYPE MOUNTPOINT
#xvda    202:0    0   8G  0 disk
#|-xvda1 202:1    0   8G  0 part /
#xvdf    202:80   0   8G  0 disk
#|-xvdf1 202:81   0   8G  0 part
sudo mount /dev/xvdf1 /
lsblk
#NAME    MAJ:MIN RM SIZE RO TYPE MOUNTPOINT
#xvda    202:0    0   8G  0 disk
#|-xvda1 202:1    0   8G  0 part /
#xvdf    202:80   0   8G  0 disk
#|-xvdf1 202:81   0   8G  0 part /
lsblk
#NAME    MAJ:MIN RM SIZE RO TYPE MOUNTPOINT
#xvda    202:0    0   8G  0 disk
#|-xvda1 202:1    0   8G  0 part
#xvdf    202:80   0   8G  0 disk
#|-xvdf1 202:81   0   8G  0 part /
Extend the volume size of an instance
- EC2-volumes, modify the volume and enlarge current size.
- See the disk devices status.
lsblk #NAME MAJ:MIN RM SIZE RO TYPE MOUNTPOINT #xvda 202:0 0 16G 0 disk #|-xvda1 202:1 0 8G 0 part / - See current effective disk status.
df -h #Filesystem Size Used Avail Use% Mounted on #udev 2.0G 0 2.0G 0% /dev #tmpfs 396M 5.6M 390M 2% /run #/dev/xvda1 7.7G 7.7G 184K 100% / - Extend the volume and see: sudo growpart /dev/xvda 1 (xvda1 in lsblk result means change the partition 1 here).
sudo growpart /dev/xvda 1 #CHANGED: partition=1 start=2048 old: size=16775135 end=16777183 new: size=33552351,end=33554399 lsblk #NAME MAJ:MIN RM SIZE RO TYPE MOUNTPOINT #xvda 202:0 0 16G 0 disk #|-xvda1 202:1 0 16G 0 part / - Extend the disk and see.
sudo resize2fs /dev/xvda1
#resize2fs 1.42.13 (17-May-2015)
#Filesystem at /dev/xvda1 is mounted on /; on-line resizing required
#old_desc_blocks = 1, new_desc_blocks = 1
#The filesystem on /dev/xvda1 is now 4194043 (4k) blocks long.

df -h
#Filesystem      Size  Used Avail Use% Mounted on
#udev            2.0G     0  2.0G   0% /dev
#tmpfs           396M  5.6M  390M   2% /run
#/dev/xvda1       16G  7.7G  7.8G  50% /